
Opinion
Video case studies: Lessons from behind the camera
By Alex Couzins | 7th September 2026
I’ve filmed a lot of case studies over the years and, while every project is different, there are definitely a few things I’ve learned along the way.
Some are obvious, some less so, and quite a few have been learned the hard way.
The reality is that a good video case study involves a lot more than turning up with a camera and asking a few questions. So, if you’re bringing a customer story to life, here are a few things worth thinking about.
Before the shoot
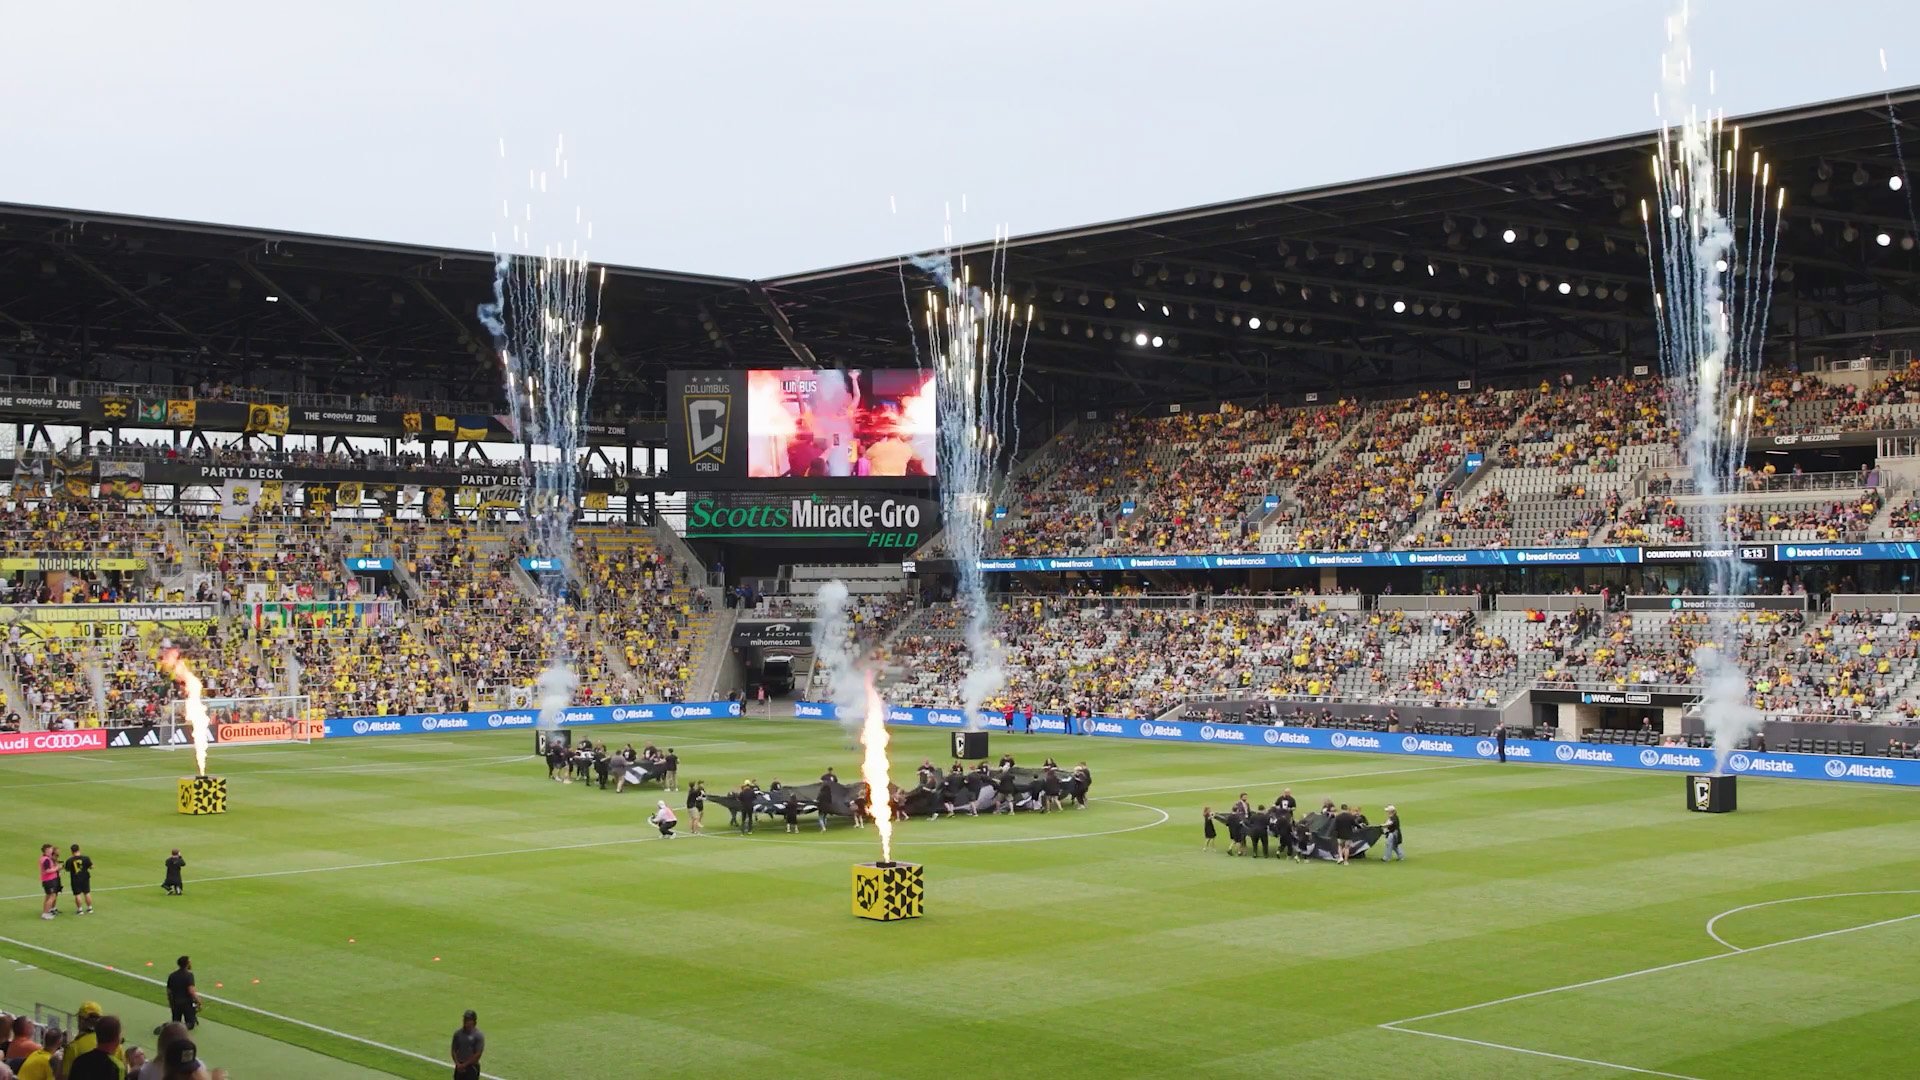
Existing footage can add another dimension to the story – from aerial views to live events and different uses of the space.
Preparation, preparation, preparation
The more you know about the project before you arrive, the better the filming day will be.
I always try to speak to the key people beforehand to understand the project, what they were trying to achieve and what part of the story each person is best placed to tell. You don’t want to script people – that’s usually when things start sounding unnatural – but you do want an idea of where the story might go and the footage you’ll need to support it.
Then there are the less glamorous details: room bookings, parking, access, security passes and timings. None are particularly exciting, but all can derail a shoot.
And when I say check the room is booked, I mean really check the room is booked. We once spent the best part of an hour setting up cameras, lighting and audio in a lecture theatre. Everything was ready and we were about to hit record when an entire class of students walked in for their lecture. Lesson learned.
Find out what already exists
Not every shot needs to be captured on the day. It’s worth asking what existing footage is available – and doing a bit of digging yourself. Websites, YouTube channels and social feeds can be a goldmine.
Aerial footage of a packed stadium, a timelapse of the build, fireworks at an opening event or footage showing the space in a completely different application can add another dimension to the story. Some shots would be difficult, expensive or impossible to recreate, so if good footage already exists and you have permission to use it, use it.
Plan for when the space comes alive
Don’t just think about where you’re filming, but what will actually be happening while you’re there.
A university corridor during a lecture can be empty and then full of students ten minutes later. Likewise, a stadium on a quiet Tuesday morning looks very different to matchday. Understand the rhythm of the location and build those opportunities into the schedule.
The interviews
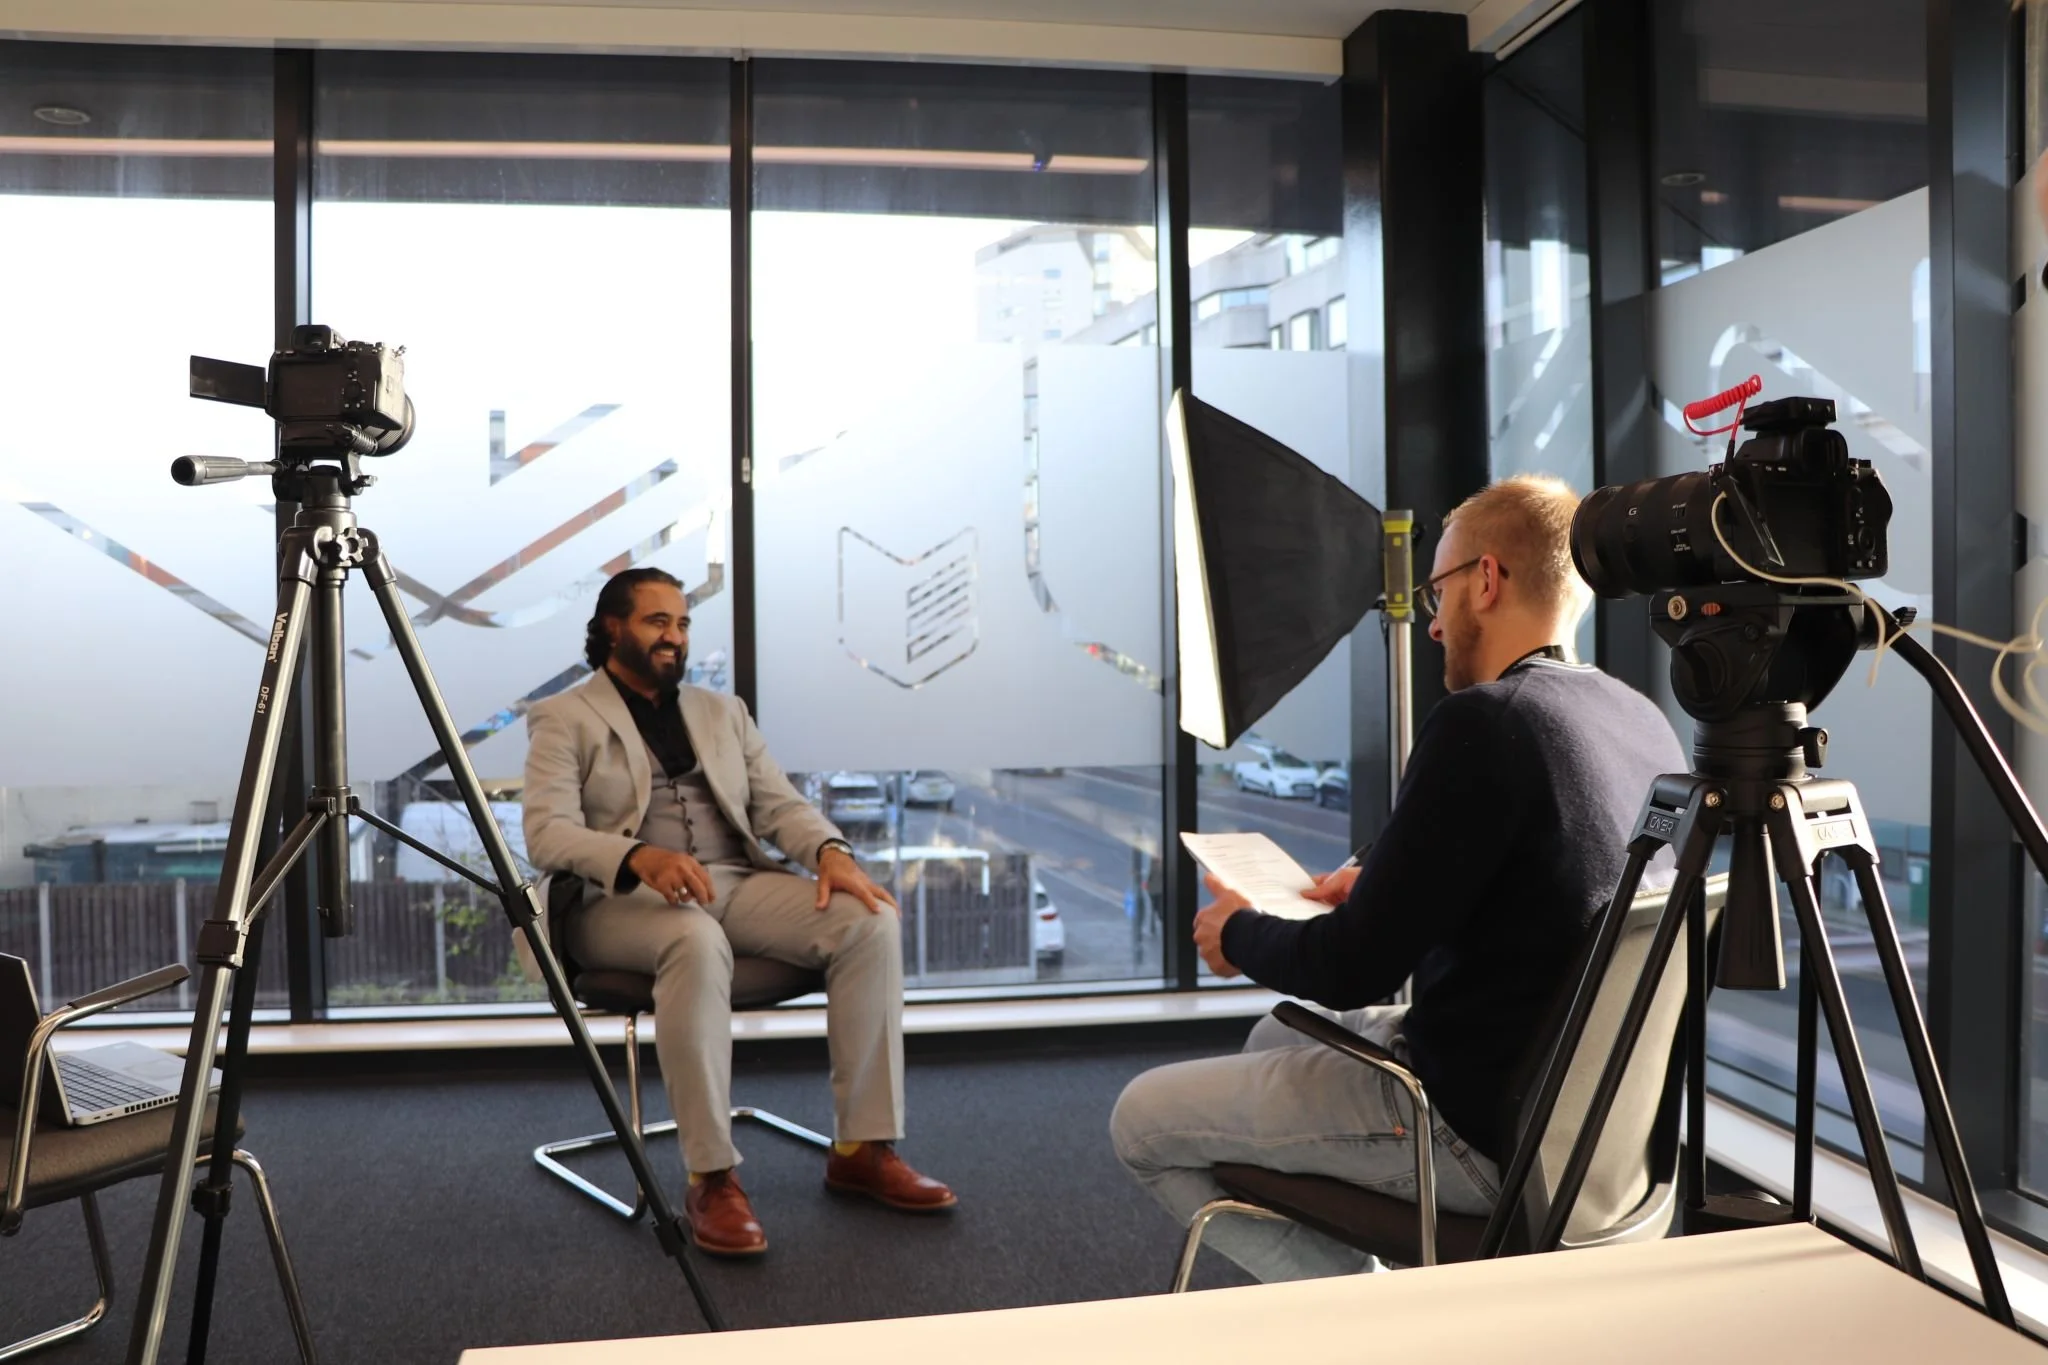
Different voices, roles and perspectives help tell a more rounded and engaging story.
Get to know the people, not just the project
Pre-interviews aren’t just about finding out what somebody is going to say. They’re also about discovering what interests them and what they’re passionate about.
I once interviewed someone who wasn’t particularly comfortable being on camera. During our chat beforehand, I discovered he’d studied architecture, so I started by asking him about the building.
He immediately became much more animated and from there the conversation naturally moved into how the technology worked within the space. It was a good reminder that sometimes the best way into a technology story isn’t actually through the technology.
Choose different voices
If you’ve got four interviewees, don’t ask all four the same questions. Work out what each person brings to the story.
The end user might be best placed to explain the challenge and impact, the integrator how the solution was delivered, and the manufacturer the benefits and applications of the technology.
Think about the overall mix too. Different roles, personalities and levels of seniority, as well as a good mix of male and female contributors, help keep the video interesting and give you different perspectives on the same project.
Make people comfortable
Most case study contributors aren’t professional presenters. Some love being on camera, while plenty don’t, so a bit of time chatting before you start can make a huge difference.
Think about who’s in the room too. I’ve learned not to have someone’s boss sitting next to the camera watching every answer, or anyone unnecessarily sitting in the interviewee’s eyeline. You want it to feel like a conversation rather than a performance review.
Another simple technique is encouraging people to include the question in their answer. Ask “What was the biggest challenge?” and an answer of “Flexibility” isn’t much use on its own. “One of our biggest challenges was creating greater flexibility…” gives you something you can actually use.
Most importantly, listen. If somebody says something interesting that you hadn’t planned for, explore it. Some of the best material comes from being prepared to go slightly off-script.
On the shoot
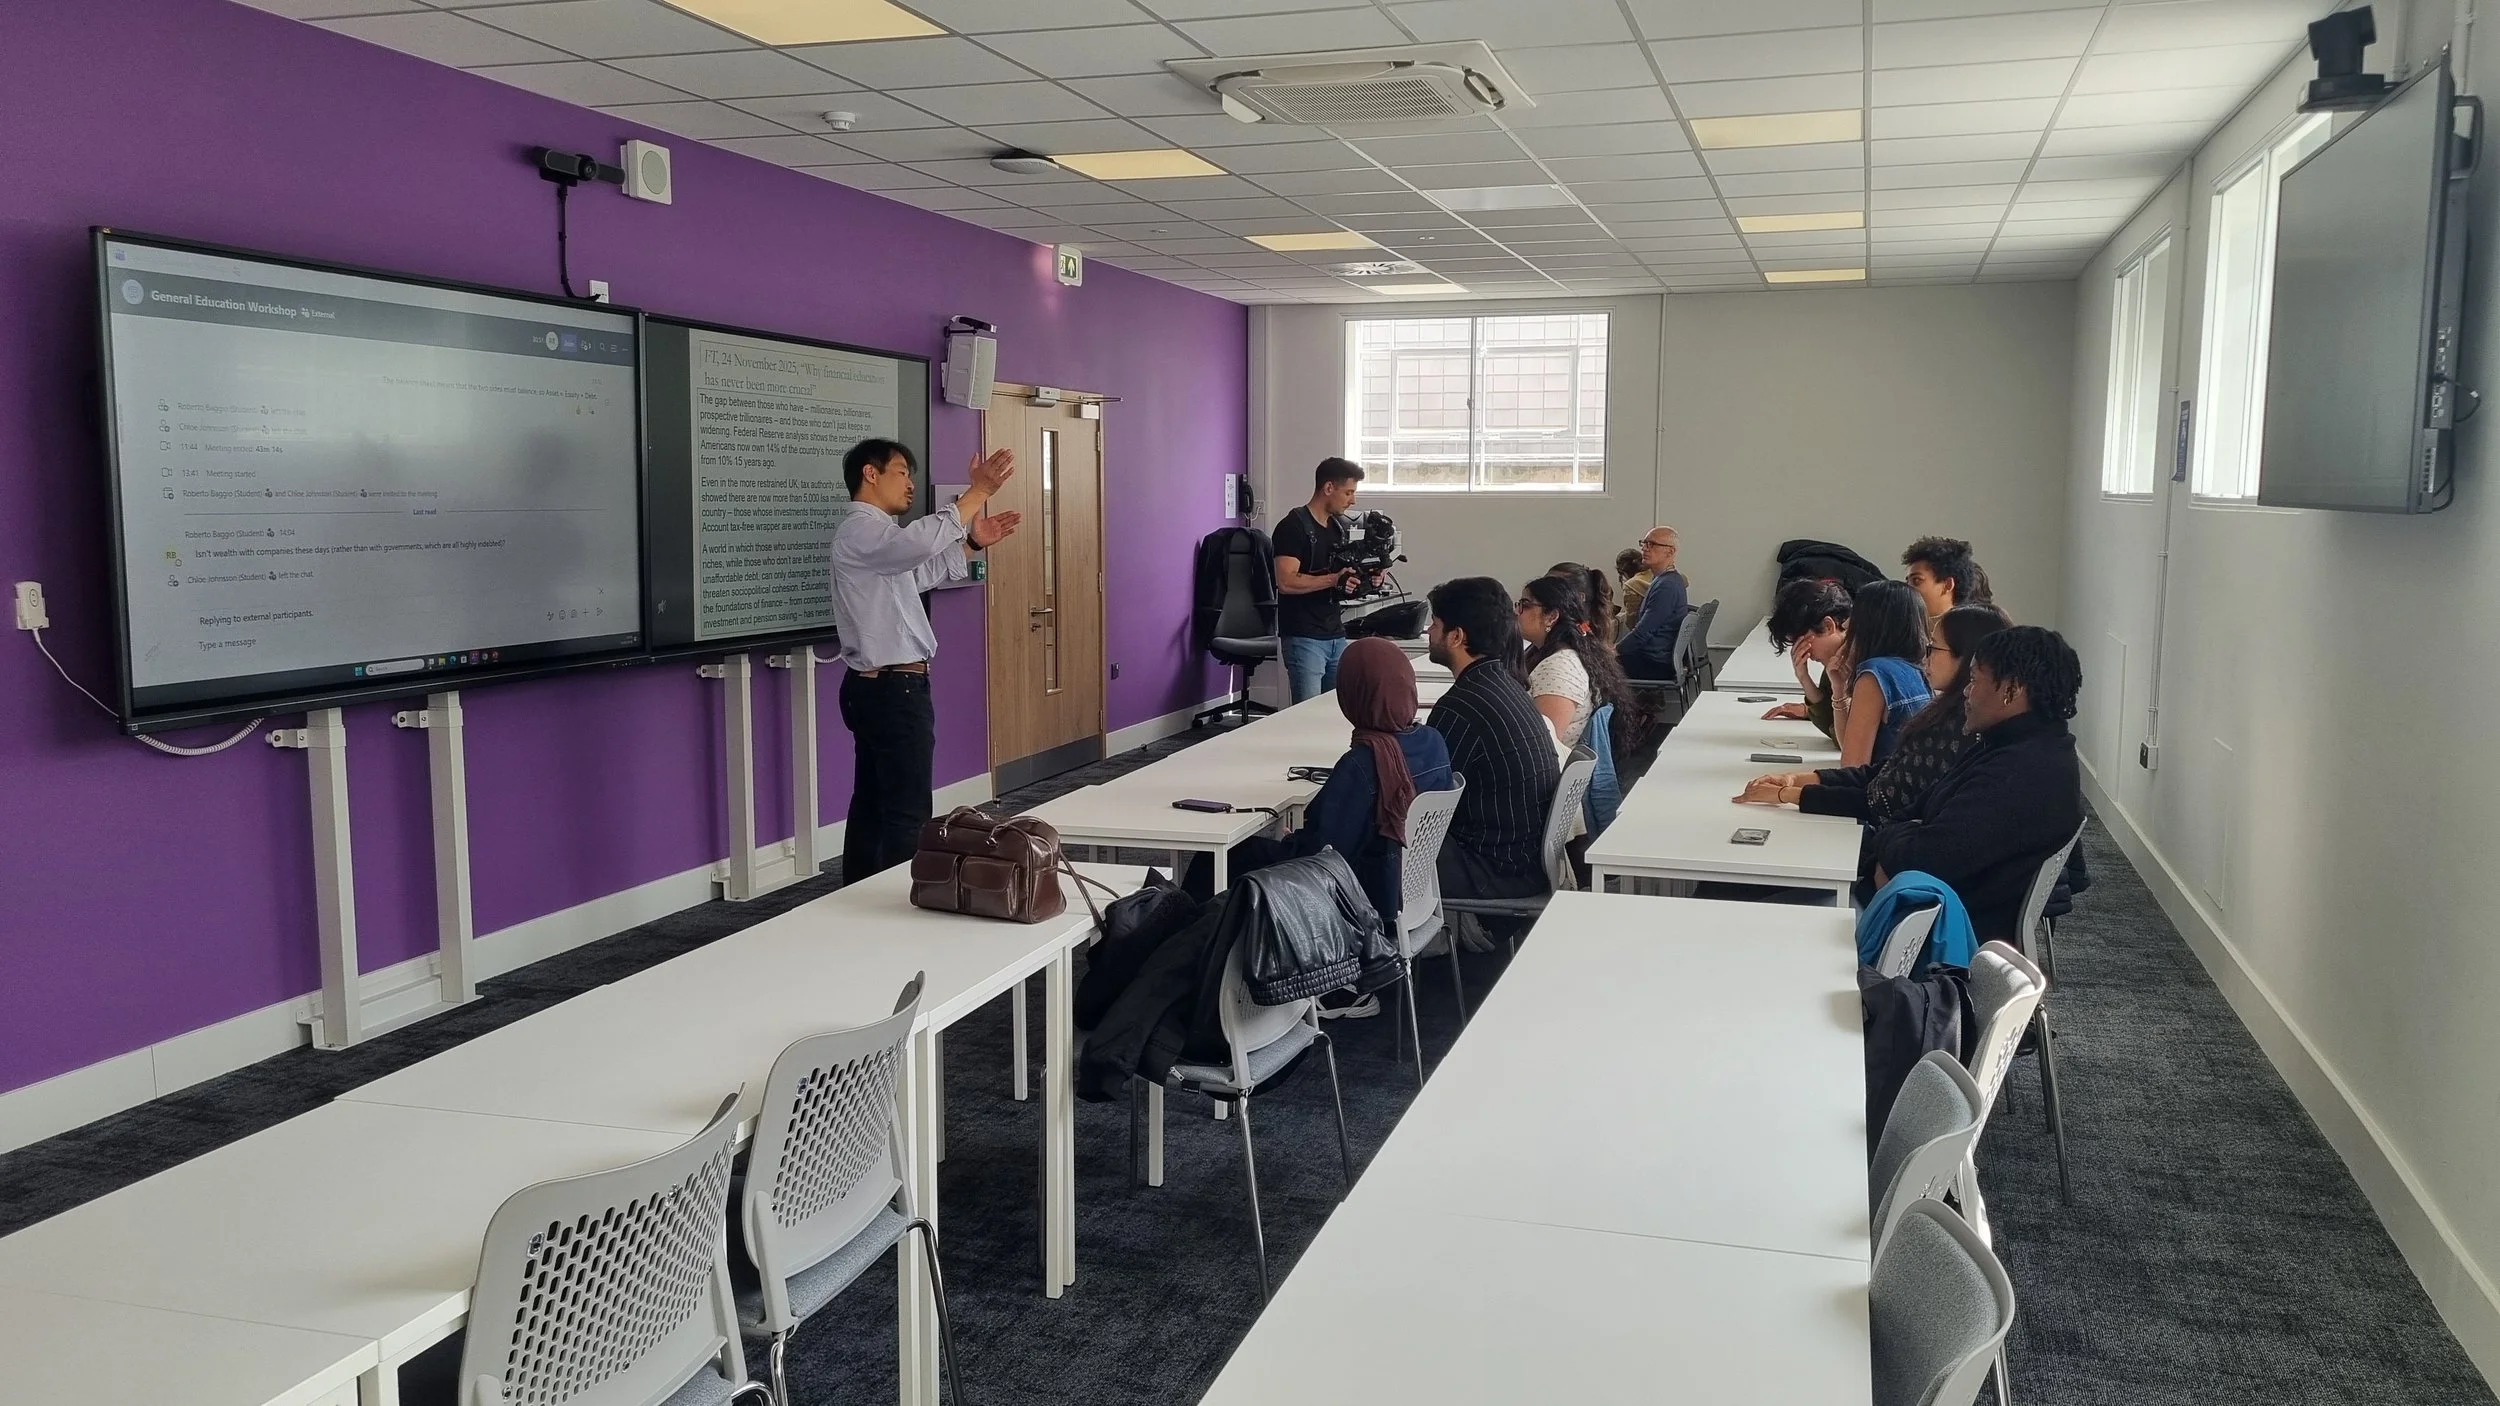
People + content + environment – showing the technology in real-life use makes all the difference.
Take a tour – then get the interviews underway
Whenever possible, I like to walk around the site before we start. You can look at photos and plans beforehand, but you don’t really understand a space until you’re standing in it.
You’ll often discover things nobody thought to mention – a better interview location, an interesting architectural feature or something much more visually impressive than the area everyone originally planned to film.
Where the schedule allows, I then prefer to get the interviews underway before completing the B-roll. Once you’ve heard what people actually talk about, you know what you need to show. There’s nothing worse than getting into the edit and realising someone has given you a brilliant answer about something you don’t have a single shot of.
People + content + environment
For me, these are three of the biggest factors in how a project comes across on film.
People: Show the space being used. At a university that might mean students and lecturers, at a stadium it’s the crowd, and in a workplace it’s people meeting or collaborating. People bring energy, but more importantly show why the technology is there.
Content: If screens are central to the project, think about what’s going to be on them. Blank screens aren’t great, but neither is somebody frantically finding a random YouTube video because the film crew has arrived. Ideally, show real content that reflects how the system is genuinely used.
Environment: Great technology can be installed in a very ordinary-looking room. Look beyond the product at the architecture, lighting, surrounding spaces, interesting angles and details that can help bring it to life.
Put all three together and it can completely transform how a project comes across. An empty meeting room with white walls and a blank screen isn’t going to give you much to work with, however impressive the technology might be.
Get more B-roll than you think you'll need
It’s easy to focus on the product, but often it’s everything happening around it that brings the case study to life.
Capture people moving through the space, interactions, reactions, architecture, details and wide shots. You want the technology, of course, but also a sense of the place and what it feels like to use it.
And get more than you think you’ll need. Having options makes a huge difference when you come to tell the story.
Take photos while you're there
If you’re already bringing everyone together and getting the location looking its best, photography is a bit of a no-brainer.
Capture some strong stills for the written case study, PR, website, awards and social. You’ve already got access to the people, technology and location. Two birds, one stone.
Look – and listen
Before pressing record, look at the whole frame. Coffee cups, bags, boxes, rubbish, coats over chairs and temporary signage have an annoying habit of becoming much more noticeable when you watch the footage back.
Watch for anything that could unnecessarily date the video too, such as Christmas decorations, temporary signage or dates on screens. And check what’s actually visible on those screens – names, emails or confidential information are much easier to deal with before filming than afterwards.
Sound is just as important. Air conditioning, background music, PA announcements and notification sounds can turn an otherwise perfect interview location into a nightmare.
Natural light needs watching too. If you’re interviewing beside a window for an hour, the sun can move considerably, making cuts between answers suddenly very obvious.
Finally, allow more time than you think. Setting up the first interview properly can easily take 45–60 minutes. Add several interviews, B-roll, photography, exterior shots and moving around a large site and a one-day shoot disappears very quickly.
Think beyond the case study
If you’ve got a customer sitting in front of a camera, think about what else you might wish you’d asked them six or twelve months from now.
Could the project become an award entry? If so, capture a few answers with that in mind. What was genuinely innovative? How did it address sustainability? What problem did it solve? What measurable impact has it had?
Those answers don’t necessarily need to appear in the case study, but getting the same customer back on camera six months later isn’t always easy. Capture them while you can and keep them in the bank – it’s golden content that could prove incredibly useful later.
Have a story worth telling?
Explore our case study services or view our work to see how Arrow & Zest can help bring your projects to life.